For the FTP - Download connection, you need to have the following fields filled up. The steps of the connection will be provided below:
1. Fill in the login credentials of the user and password fields.
2. Specify the FTP source host to that you want to export the inventories to which source host.
eg. vendor.com:20, ftp.vendor.com, 112.2.1.150
3. Fill in the Directory and filename where the feed file is located.
Directory and filename. eg. /public_html/project/data/inventory.csv
4. For the setup of a filename with a timestamp, please click here to know more.
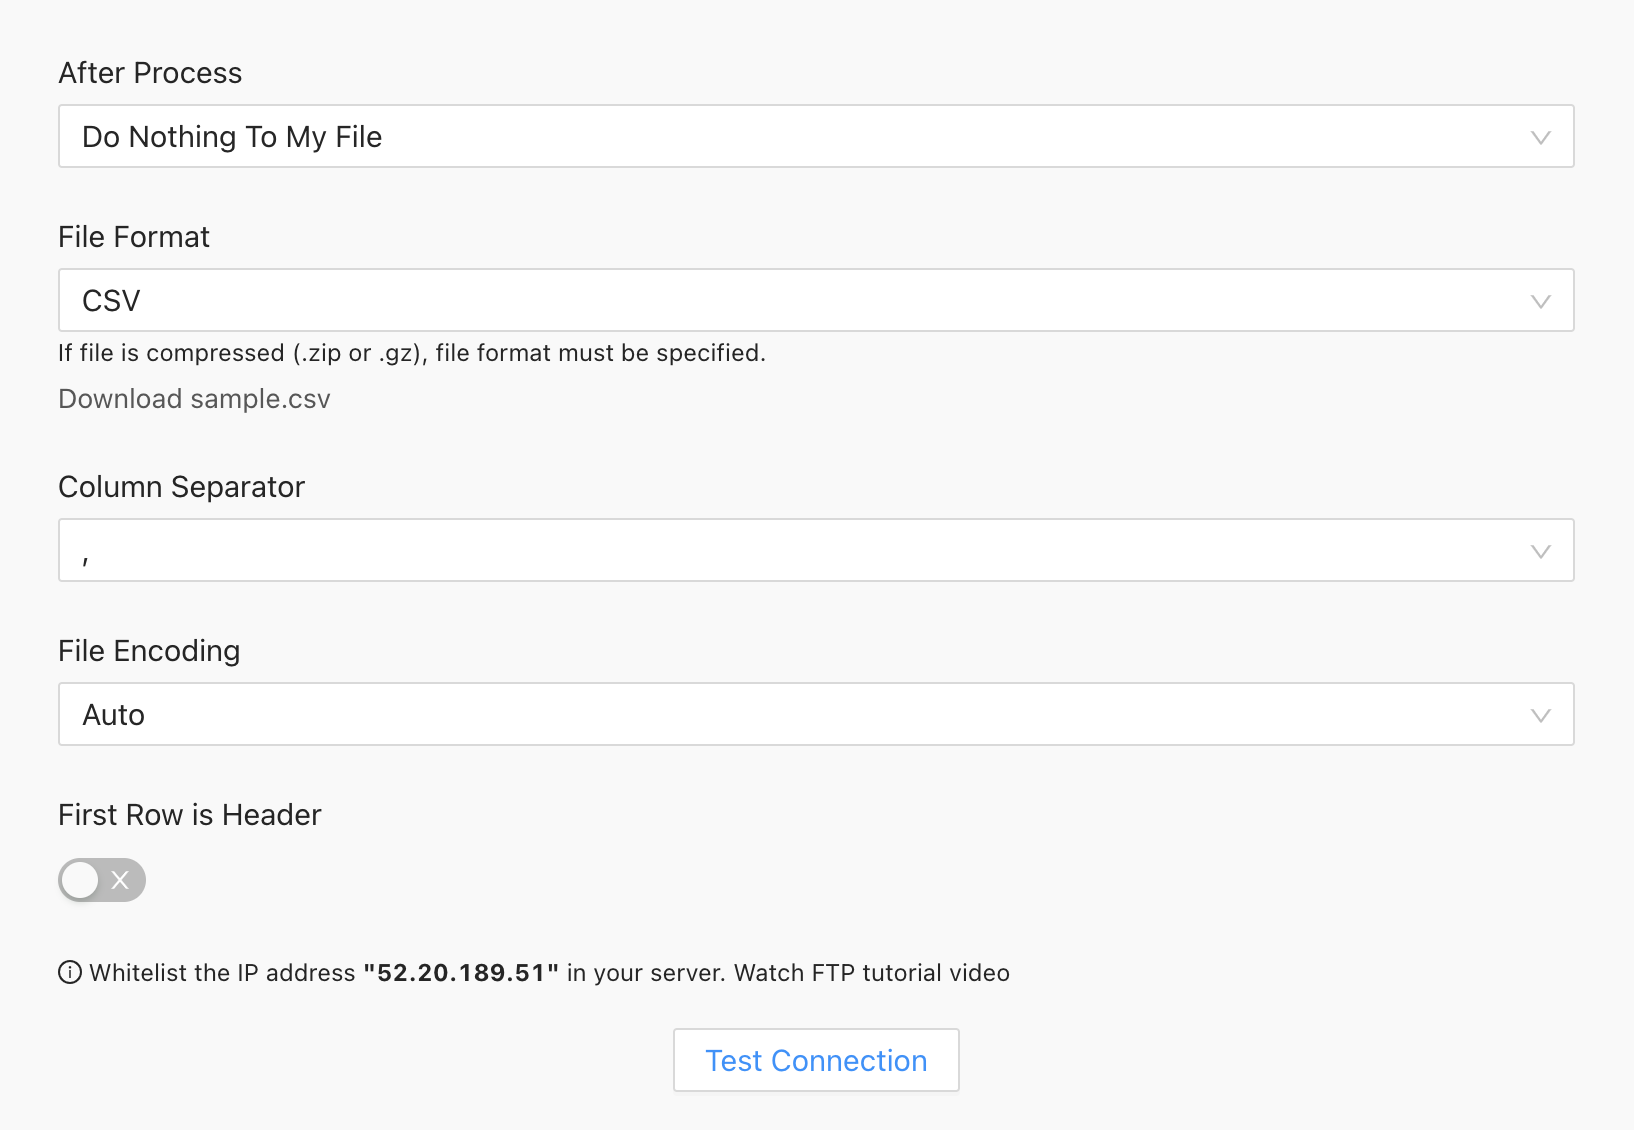
5. Select an option under the After Process field, depending on the user choosing which option for their feed file to be after the process is finished.
- Do Nothing To My File
- Append Date To My File (<date_time>_file_name)
- Rename My File (After the process, you can set the name as you want in the field provided)

- Delete My File
6. File Format field is can be set as Auto by the user where Stock Sync auto-detects the file format or the user also can choose the type of file format that they attaching for the connection method accordingly.
For example: CSV, XML, XLS, XLSX, JSON, .TXT, EDI, and HTML Table.
7. Specify the Sheet name if you are referring to anything other than Sheet 1 or you can also choose multiple Sheets separated by a comma.
8. If your FTP server is secure, please copy the link provided for it to work.
Whitelist the IP address "52.20.189.51" in your server. Watch FTP tutorial video
9. Click on the test connection to test it out or else you can test it via FileZilla. Learn more about How to test via FileZilla?